How to Record a Reaction Video in Canva (and the Faster Alternative)
It is possible to make a YouTube reaction video in Canva, but it’s slow.
Canva doesn’t record "system audio", so you unfortunately can’t just screenshare a YouTube tab and react live. System audio is the sound coming from a YouTube, TikTok, or Instagram video.
If you want to easily record a reaction video by sharing your screen and speaking over it, you should use Podsplice instead.
Can You Record a Reaction Video in Canva?
Yes—technically. Canva lets you record your webcam + mic, and you can upload the video you’re reacting to. Then you layer the clips and edit until they line up. It works, but it’s a workaround—not a live reaction flow.
Key limitation: Canva doesn’t capture system audio, so you can’t simply press play on a YouTube clip during a screenshare and have its sound recorded alongside your voice.
Step-by-Step: The Canva Workaround
Upload the source video (e.g., a clip you have rights to use, like a YouTube download you’re allowed to upload).
Record yourself in Canva (webcam + mic) sharing your thoughts/reactions.
Layer your reaction on top (picture-in-picture or side-by-side).
Manually sync your reactions to the moments in the source video (trim, split, nudge on the timeline).
Add text/graphics and export.
This gets the job done for longer YouTube videos, but for short, frequent clips (YouTube Shorts, TikTok, Instagram Reels), the manual syncing adds up fast.
Where Canva Slows You Down
No live screenshare + system audio: you can’t just watch a video and react in one pass.
Manual syncing: lining up your face cam with the video’s moments costs time.
Repetitive edits for social: cutting multiple vertical clips for YouTube Shorts, TikTok, and Reels means repeating the sync/edit cycle.
If your goal is speed—especially pumping out multiple short reactions per week—this workflow gets in your way.
A Faster Option: Record Your Screen + System Audio in One Take (Podsplice)
Podsplice is built for reaction videos and commentary. You just record everything at once:
Screen capture
System audio (the sound from your YouTube/TikTok/Instagram web tab, etc.)
Microphone
Camera
All four tracks are recorded separately (no sound bleed) and auto-combined after you stop—so you get clean control in post without the hassle.
Flow: choose your camera + mic → pick the screen/tab → hit Record → react live → stop → download.
From there, clip a highlight for TikTok/Reels/Shorts or publish the full reaction to YouTube.
Try it here: Podsplice
If you want a deeper dive on the approach, see how to make a reaction video with Podsplice.
Quick FAQs
Can I do a live screenshare reaction in Canva?
Not with system audio. You’ll need to upload the source video and sync your reaction later.
Will viewers know the difference?
The final video can look great either way. The difference is in workflow: Podsplice lets you record everything in one pass, which is much faster for frequent posting.
Final Thoughts
You can create a reaction video in Canva, but it’s a manual process—upload, layer, and sync. If you want to press record and react live (screen + system audio + mic + camera), Podsplice is the faster way to go for YouTube, TikTok, and Instagram.

About the Author
Andrew Best
Andrew Best is an entrepreneur, educator, and AI expert with over two decades in online marketing. He co-founded China232 — a podcast and learning platform with 10M+ downloads — and later 88Herbs, a premium supplement company. Andrew now focuses on helping creators leverage AI for podcasting, screen recording, and YouTube content through Podsplice.
More from Podsplice

How to Record a Reaction Video with System Audio
Article
How to Record YouTube Audio in a Reaction Video on Mac (Without QuickTime or Plugins)
Blog
Beehiiv Podcasts: What You Need to Know
Blog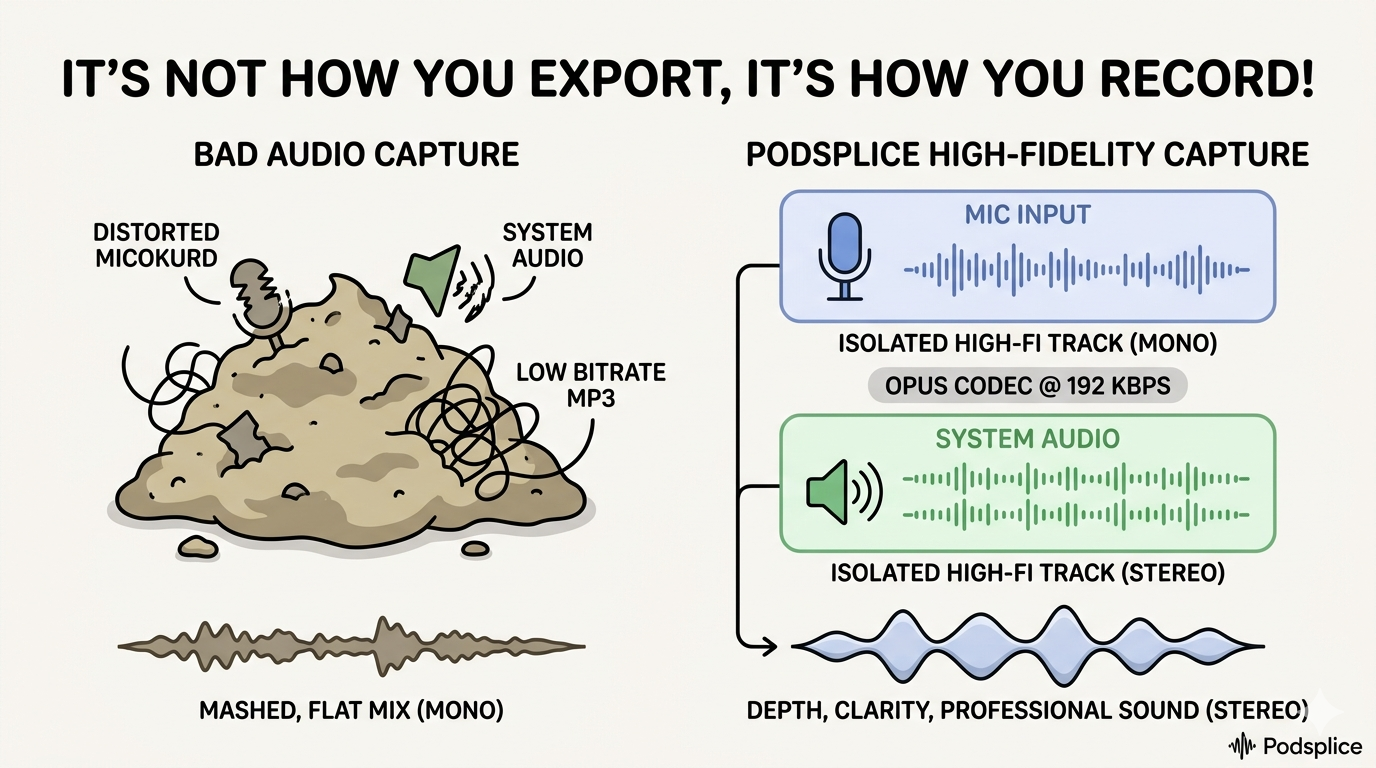
MP3, AAC, WAV, or WebM? The Creator's Guide to Audio File Formats
Article
Recording a Remote Double-Ender Podcast Interview
Article
Start Recording in Seconds
No downloads. No setup. Just hit record and share your story with the world in studio quality.
Looking for a Screen Recorder or Remote Recording tool?